Project 105-4
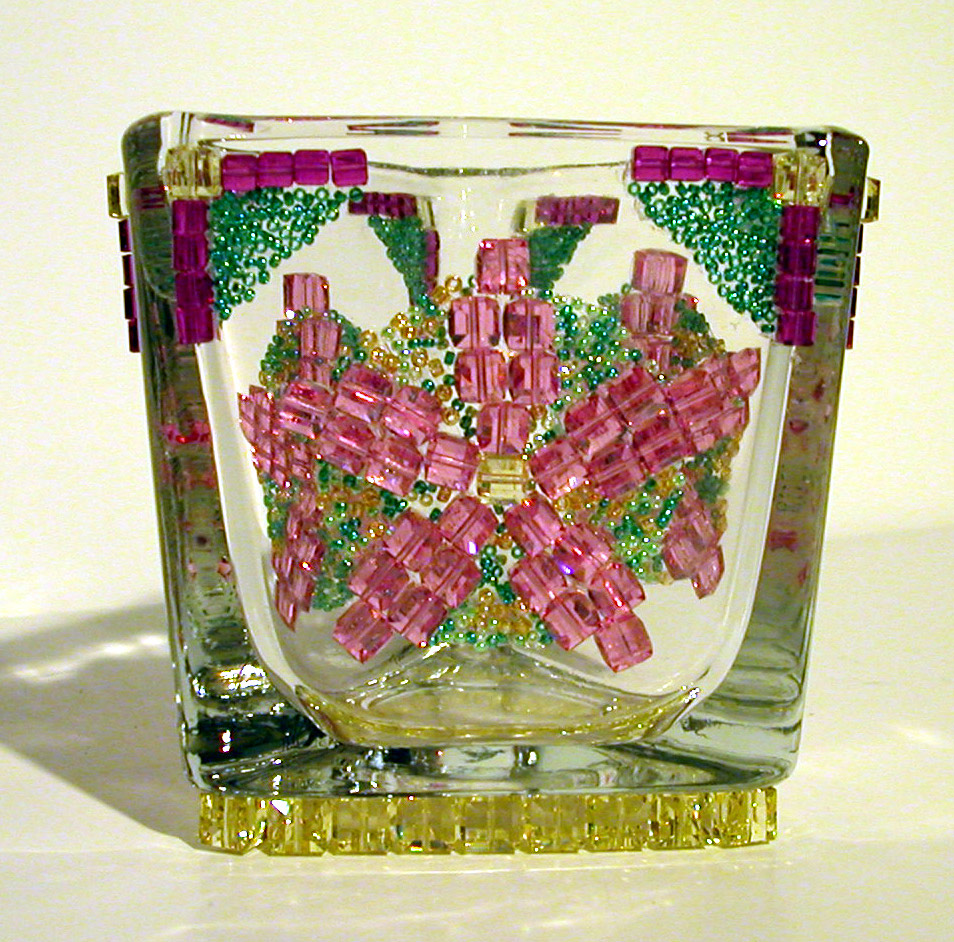
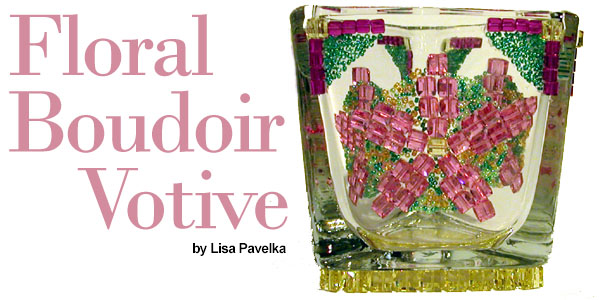
Floral Boudoir Votive
This elegant beaded votive is made using high quality Swarovski® Crystal Cubes, seed beads and Peel-n-Stick™ adhesive sheets. The votive is ideal for burning a floating candle*, holding potpourri, cotton swabs, cotton balls, make up brushes, etc.
*Note: Do not burn regular votive or tea light candles in this decorated votive. The heat may cause the adhesive to fail. A small floating candle may be burned when water is added to the votive at a level that will allow the flame to burn above the rim of the votive. Always supervise a burning candle and place away from drafts.
Materials
- Small (4mm) Swarovski® fuchsia crystal cubes (1 pack) F14-1657CY
- Medium (6mm) Swarovski® rose crystal cubes (2 packs) F14-1712CY
- Medium (6mm) Swarovski® jonquil (yellow) crystal cubes (1 pack) F14-1761CY
- Large (8mm) Swarovski® jonquil (yellow) crystal cubes (2 packs) F14-2230CY
- Peel-n-Stick™ adhesive sheets F14-2077TL
- #15 Rocaille transparent rainbow sea green seed beads F14-2378SB
- #15 Rocaille pale green seed beads F14-2400SB
- #11 amber seed beads F14-1641SB
- Fine tip tweezers F14-1524TL
- 4 inch scissors
- Bead trays, porcelain
- Triangular or square glass votive holder
- 1 ¾” circle template· Permanent marker
Instructions
- For each side of the votive being decorated, cut out one 1¾” diameter circle from the Peel-N-Stick™ sheets. Remove the backing and place on the center of one side of the votive.
- Remove the protective covering from the adhesive circle. Place on medium yellow crystal cube on the center of circle. (Note: Be sure to align all of the crystals in the same direction when placing for the most uniform appearance.)
- For each petal, place one medium rose crystal directly over the top of the center yellow cube. Place four more rose crystals around the center yellow crystal at slight angles to form a five point star formation. These are the inside tips of each flower petal and will determine the alignment of each petal.
- At the end of each starting rose cube, place two rows of two medium rose crystals. These two rows should be centered over the first rose cube (see Diagram 1 below).
- To finish each petal, cut a 1/8” wide strip of Peel-N-Stick
adhesive. Remove one side of the protective backing. Place five medium
rose cubes on the exposed adhesive. Trim the excess strip away from
each cube with scissors, leaving a small square of adhesive on each
cube. Peel away the backing and center over the end of each petal.

PHOTO NOT INCLUDED
Rose Starter Bead #1 →

PHOTO NOT INCLUDED
Rose Bead Row #1 →
PHOTO NOT INCLUDED
Rose Bead Row #2 →
End Rose Bead →
Diagram 1 Petal Cube Alignment
- Mix all three colors of seed beads into the mixing tray. Pour the mixed beads over the exposed areas of the Peel-N-Stick™ circle. If any areas remain exposed, press individual seed beads into place with fine-tip tweezers. Work over a bead cup or tray to catch the beads.
- For each side of the votive, cut a 1” x 1” square from the Peel-N-Stick™ sheet. Cut the square in half, diagonally. Remove the backing and attach at the top left and right corners of each side on the votive. Remove the second backing and attach a medium yellow crystal at the corner. Apply four fuchsia crystal cubes on either side of each yellow crystal cube, along the horizontal and vertical edges (a total of eight fuchsia cubes will be needed for each corner).
- Pour the mint green seed beads over the exposed area of the adhesive triangle. Fill in any exposed spaces with beads as described in Step 6.
- Apply ¼” wide strips of the Peel-N-Stick™ adhesive along the bottom edges of the votive. Attach the large yellow crystal cubes side-by-side, along the entire length of each side of the votive to create a crystal pedestal.
- Repeat Steps 1-9 for the remaining sides.
Finished Project Images