Project 107-3
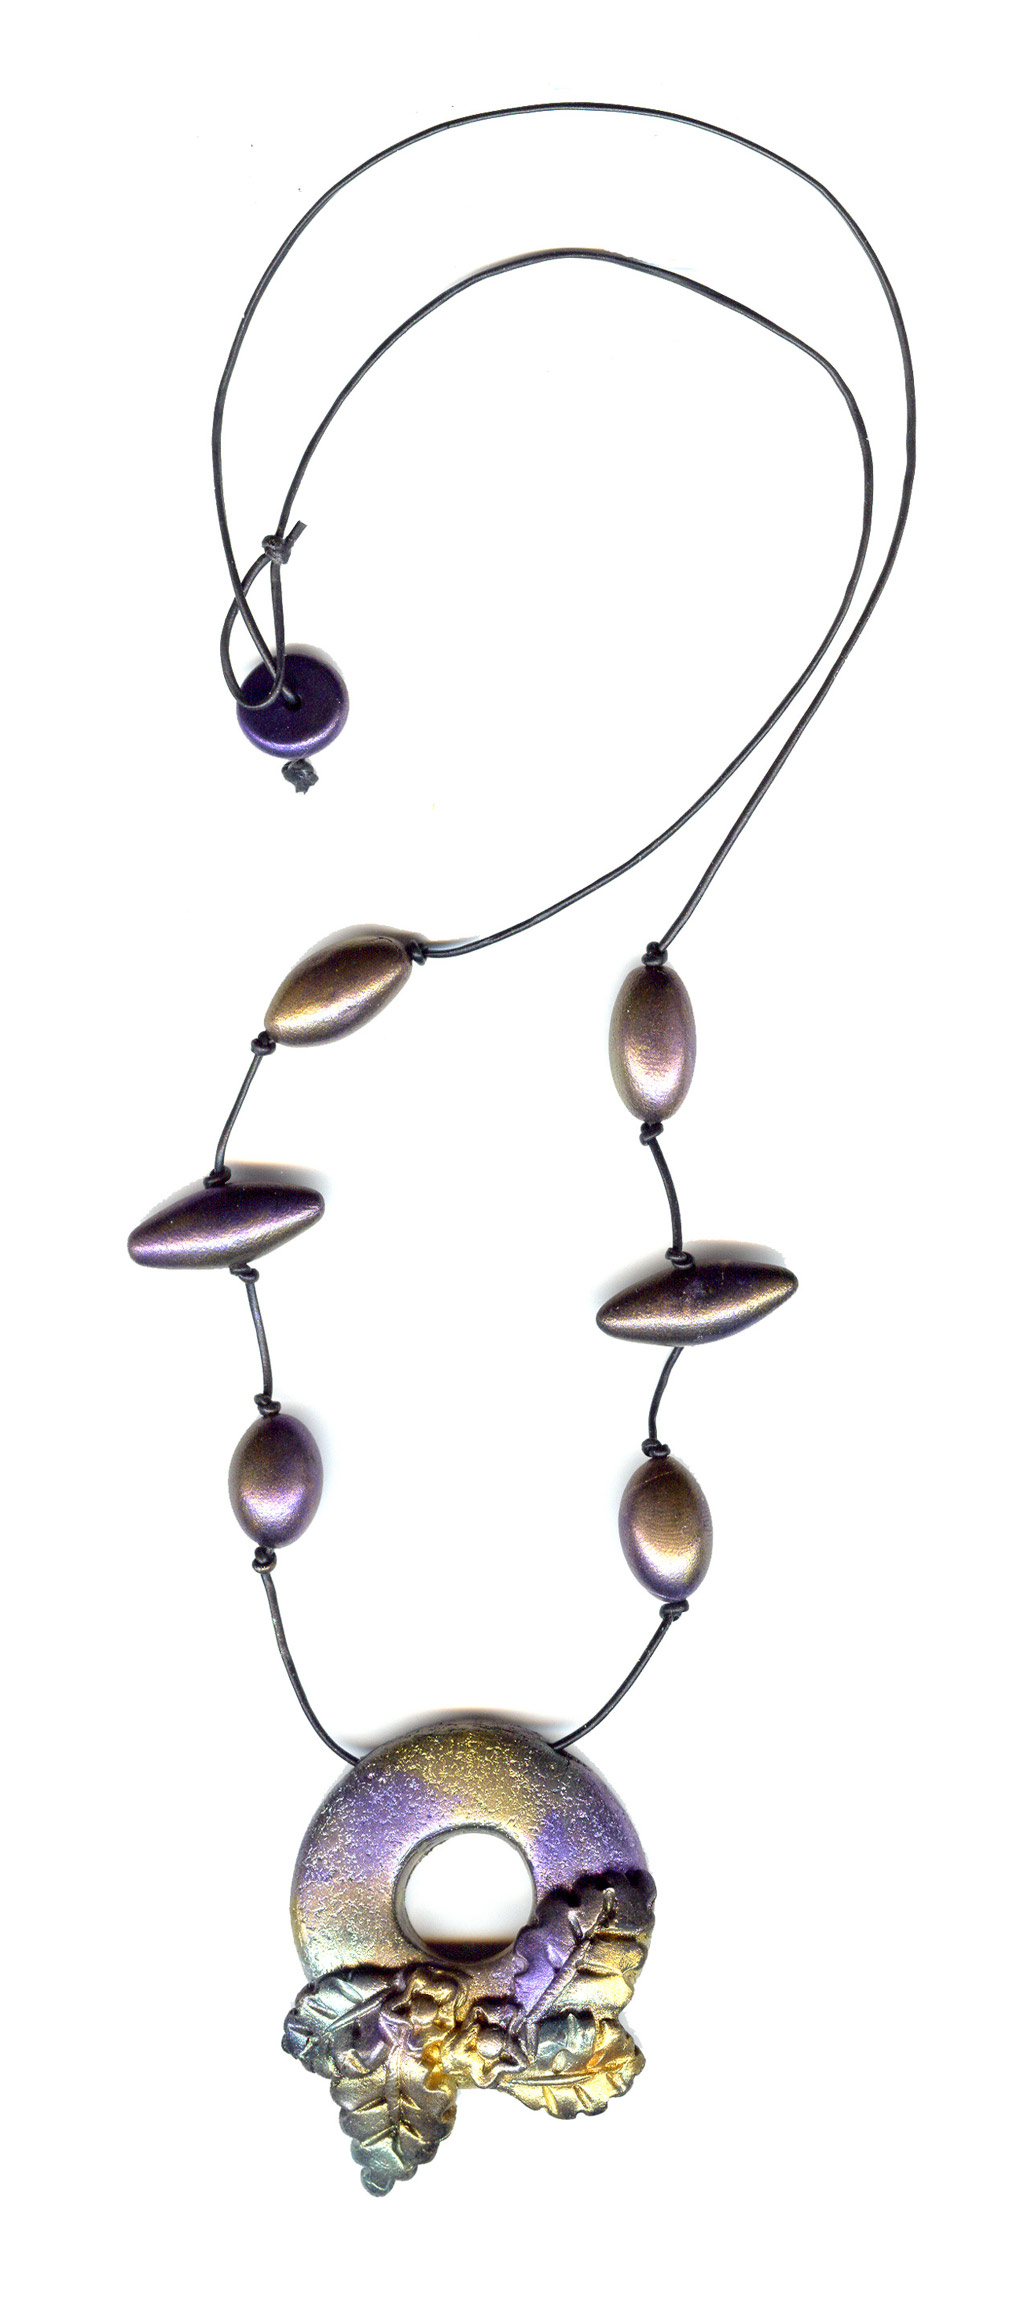
Pearlized Leaf Pendant Necklace
Sponsor:
Polyform Products
Materials Needed
- Premo! Sculpey® polymer clay- black (Polyform Products)
- Sculpey® Flexible Push Mold™- “leaf motif” (Polyform Products)
- (Optional) cornstarch or baby powder
- Spray bottle with water
- Pearl-Ex powders (Jacquard Products)
- Texture (Use a piece of Scotch-Brite kitchen scrubbing pad)
- 1mm black leather cord (Darice)
- Cyanoacrylate glue gel (e.g. Quick-Tite gel)
- Small paintbrush with soft bristles
- Small canapé or clay cutter- circle (about 5/8-inch in diameter)
- Sculpey® Super Slicer (Polyform Products)
- Scissors
- Needle tool/awl
- Index cards
- Oven thermometer
- Soft cotton rag
- (Optional) Clay-compatible sealer
Instructions:
Condition clay before beginning by rolling or kneading the clay in your hands or on your work surface or by rolling it several times through a pasta machine set at the thickest setting.
Pinch off a bit of clay and press it into push mold to fill desired shape. At first it’s tricky to get the right amount- most people use too much clay. A good guideline is to use about half as much as you think you’ll need. You can add more if necessary (or you can carefully trim away excess by sliding the clay blade across the mold, taking care not to cut into the mold or your fingers! If your fingers stick to the back of the clay and pull it out of the mold, dust them lightly with corn starch or baby powder.
For a smooth, finished edge- use the pad of your finger to nudge the clay away from the edge of the mold all the way around before removing the molded piece. You should be able to clearly see all of the edges of the mold.
Flex the mold and remove the clay. Tip- if the clay sticks in the mold, pop it in the freezer for a couple of minutes then remove the clay. Or spray the mold with a light mist of water before adding the clay.
After the molded embellishments are complete, roll some of the remaining clay into a ball about the size of a walnut (there is no right or wrong here- make it the size you prefer!)
Flatten the ball with a flat object to create a disc about ¼-inch thick. Use the small circle cutter to make a hole in the center of the disc.
Use the needle tool to make a hole through the disc across the top. Don’t make the hole too close to the top edge or it will be weak there.
Position the molded elements on the clay disc and press them firmly into place. Texture if desired.
Dip the dry paintbrush into selected color of Pearl-Ex powder and tap it onto the pendant then spread the powder around. Leave open spaces. Repeat with additional colors until pendant is covered. A little Pearl-Ex goes a long way- start with less; you can always add more!
Roll accent beads from scrap clay and coat them with Pearl-Ex. Make holes with needle tool.
Place pendant and beads on index card and bake at 275 degrees F for 30-40 minutes. Use an oven thermometer.
Once items have cooled, rub them with the soft cotton rag to remove any excess powder- The powder you see at this point isn’t coming off of the clay, it was extra powder that didn’t adhere.
(optional) Seal if desired.
String pendant and accent beads onto leather cord, knotting between beads to space them.
String one additional bead onto one end of cord. Tie knot. Put a drop of glue on knot to secure. Pull bead up to knot. On the other end of the cord, tie a loop that fits snugly over the bead to create a toggle-style closure. (For a simpler finish, omit this step and just tie ends of leather cord together).
Finished Project Images