Project 109-3
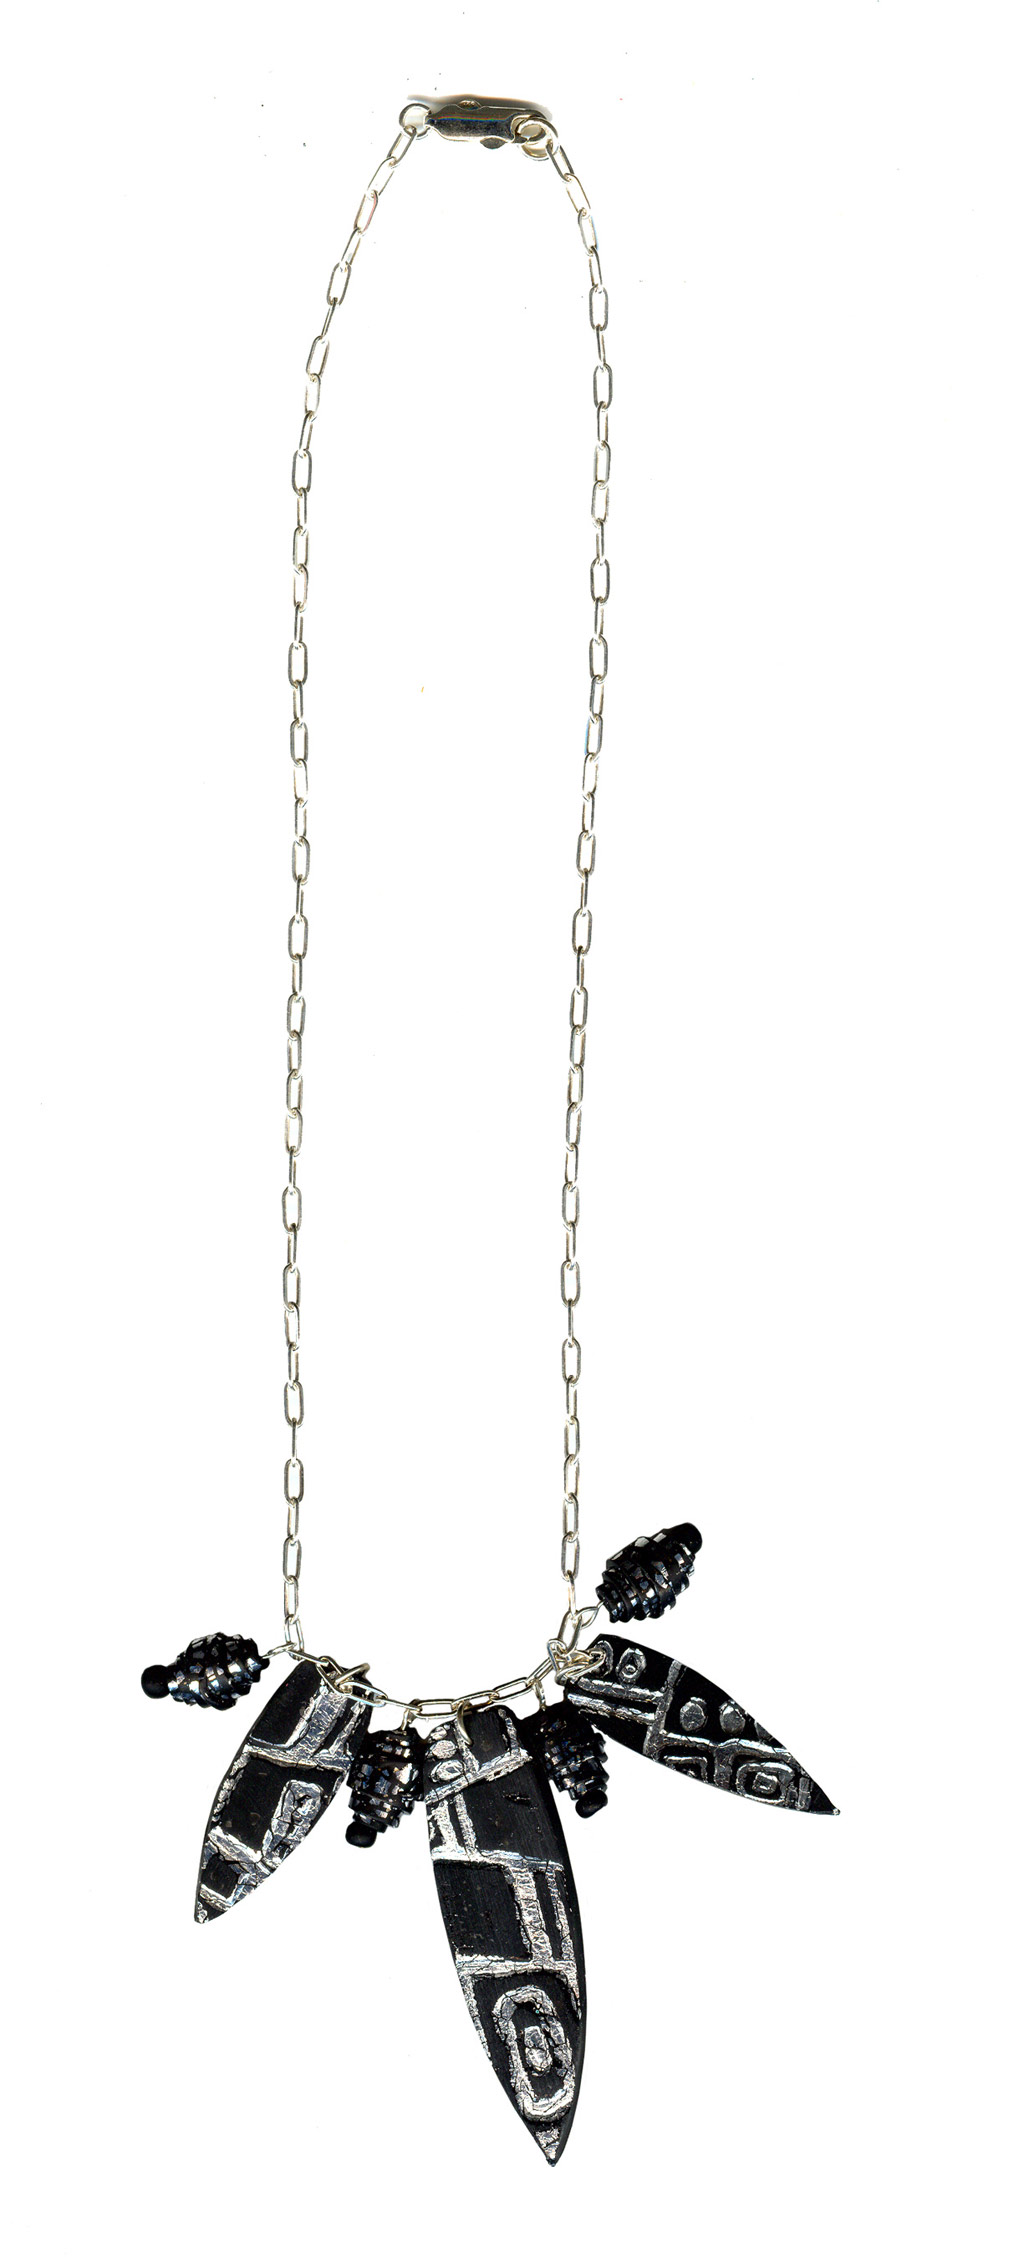
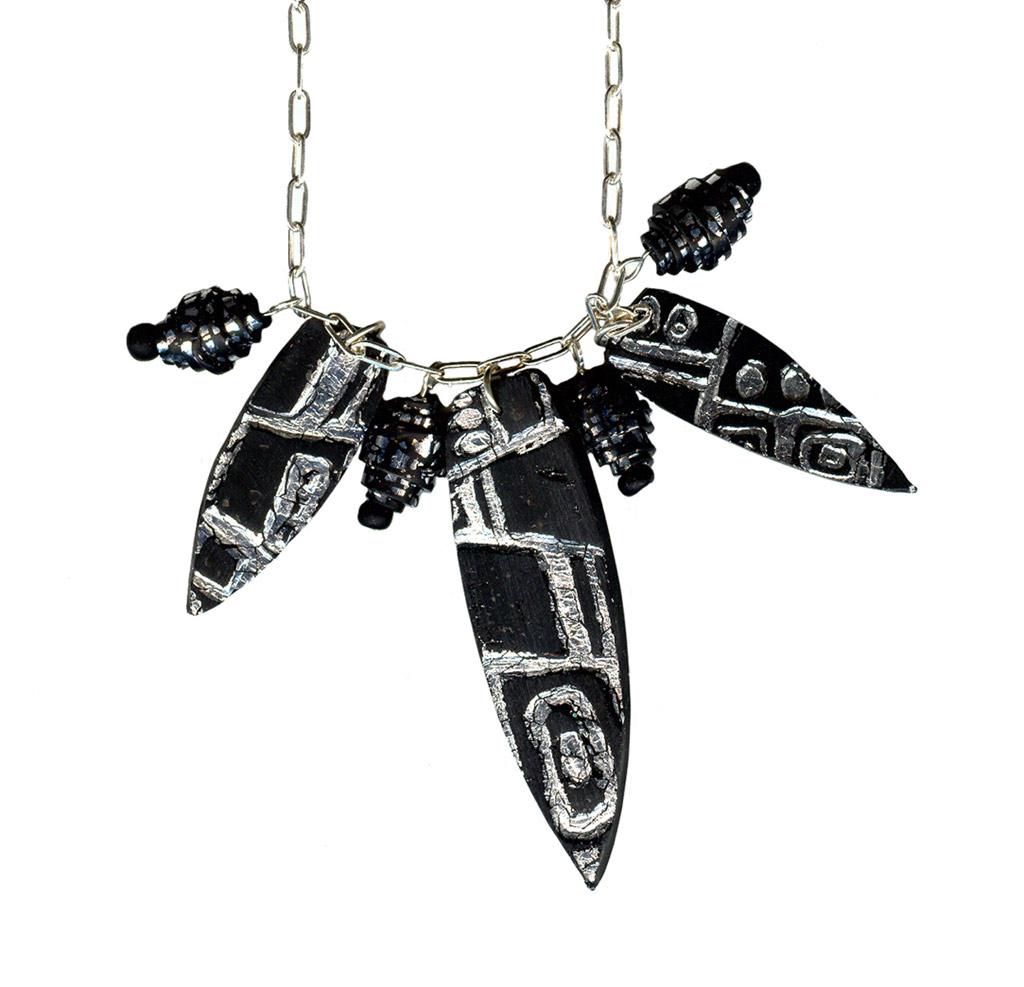
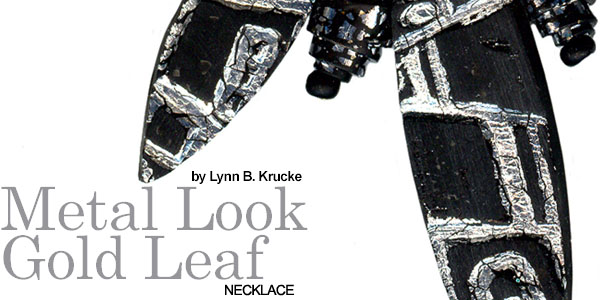
Metal Look Gold Leaf Necklace
Sponsor:
Polyform Products
Materials and Tools
- Premo! Sculpey® polymer clay- black (Polyform Products)
- Premo! Sculpey® Shapelets™- Triangle Shapes & Segments (Polyform Products)
- Clay Texture Sheet- Hide n’ Seek Squares™ (Polyform Products)
- Composition metal leaf (Houston Art, Inc.)
- (Optional) cornstarch or baby powder
- (Optional) clay compatible glaze
- e-beads- matte black
- Head pins
- Jump rings
- EUROTOOL® needle nose pliers, round nose pliers and wire cutters
- Sterling silver chain and clasp
- Pasta machine or clay roller
- Craft knife
- Needle tool/awl
- Ruler
- Index cards
- Wet/Dry sandpaper 320 or 400 grit
- Toothpick
- Cotton swab
- Oven thermometer
- Shallow container for water
Instructions
Condition clay before beginning by rolling or kneading the clay in your hands or on your work surface or by rolling it several times through a pasta machine set at the thickest setting.
Use the clay roller or pasta machine to roll out a sheet of clay approximately 1/8-inch thick. Trim the clay to the width of the texture sheet.
Carefully apply sheets of composition metal leaf to the sheet of clay. The leaf is delicate, so handle it gently to minimize tearing. Use your fingers to burnish the leaf gently onto the clay. Remove excess leaf and save for another project.
Cut the sheet of leafed clay in half and set one part aside for now.
Place the texture sheet face up on the work surface. Place the sheet of clay leaf side down on the texture sheet and use your fingers to press firmly and evenly over the back of the clay. You will feel the impression being formed as you work. If the clay sticks to your fingers and lifts off the texture sheet dust your fingers with a small amount of corn starch or baby powder.
Remove the impressed clay from the texture sheet. Use the Shapelets and craft knife to cut out shapes needed for the project. Make a hole near the top of each shape with your needle tool.
Use the pasta machine or clay roller to flatten the remaining leaf clay (reserved in Step 4). Rolling the clay flatter causes the leaf on the surface to crack in interesting patterns. The final sheet of clay should be very thin- approximately 1/16-inch thick.
Trim this clay into a rectangle. Along one long edge mark the clay every half-inch. Along the other long edge, measure in ¼-inch and mark this spot, then mark the rest of that edge in half-inch increments.
Cut the clay into triangles by matching up the marks. Connecting the offset marks will create long skinny triangles of clay. (see diagram)
Beginning at the wide end of a triangle, wrap it around a toothpick, pressing slightly when you get to the end to secure the clay. This is just like the rolled paper beads you may be familiar with, but no glue is needed!
Slip the finished bead off the toothpick and place on index card for baking. Tip: to prevent roll-away beads accordion-fold an index card and place the beads in the folds for baking.
Bake finished beads and clay shapes at 275 degrees F for thirty minutes. Allow to cool.
Wet the clay shapes and a piece of sandpaper then gently sand the surface of each shape. This removes the leaf from the “high spots” leaving it in the crevices of each shape.
After the pieces are dry coat them if desired with glaze, using a cotton swab or paintbrush.
Assembling the necklace
Add a jump ring to each clay shape.
Thread a matte black bead and a rolled clay bead onto each head pin. Trim wire as needed and turn a loop at the top of each head pin round nose pliers.
Carefully open each jump ring or finished bead dangle to the side and connect them to the links of the sterling chain. Carefully close the loops.
Finished Project Images