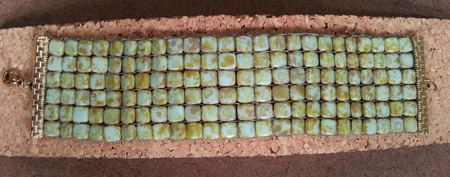
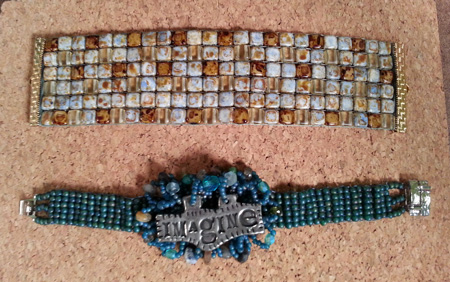
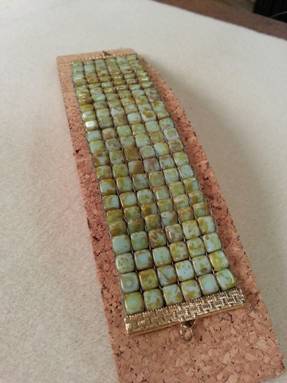
Jewel Loom Tila Cuff by Julianna C Hudgins
Materials List:
Jewel Loom Kit
Wild Fire Green
Bead Mat
Two Hole Tila Beads
Ribbon Clasp
Flat Nose Pliers
Scissors
Optional: Magnifier Lite
Notes:
You can create a beaded project on the Jewel Loom approximately 2.75W x 11L
If you want to create a wider or longer beaded project you can sew ends and or sides together
The top side of the Jewel Loom is printed with the Beadalon Logo
The backside of the Jewel Loom has two round buttons to attach stringing material
To determine the length of your cuff bracelet measure your wrist and minus .5 inches. The Ribbon Clasp will add approx 1 inch to the length of your cuff.
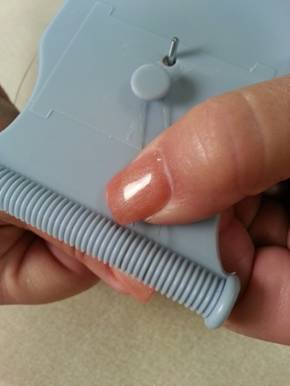
Step 1
Insert rod into both holes on top of Jewel Loom
Step 2
Turn Jewel Loom over so both back buttons are facing up. Working from the spool of Wild Fire attach one end to back side button by tying several knots
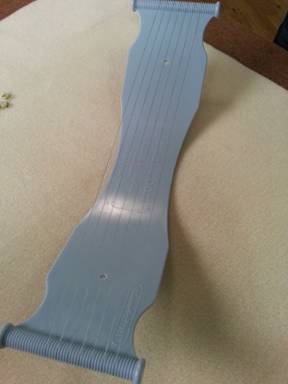
Step 3
Turn loom over right side up and bring Wild Fire up and over grooves counting in 11 grooves closest to the left side button (see photo for placement). Bring Wild Fire down to bottom grooves and place in 11th groove on bottom and wrap around backside button.
Step 4
Continue to warp threads skipping 3 grooves
Step5
Warp threads until you have a total of 7 warps
Step 6
Cut 2 yards of Wild Fire and thread needle. Starting from the left side of Jewel Loom weave under and over all warp threads and back again so that needle and thread are on the left side of the Jewel Loom
Step 7
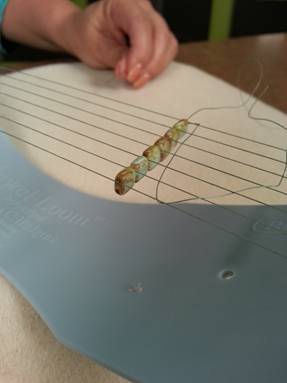
Bring needle and thread under all warp threads and pick up 6 Tila beads
Step 8
Let all of the Tila beads fall to bottom of the thread
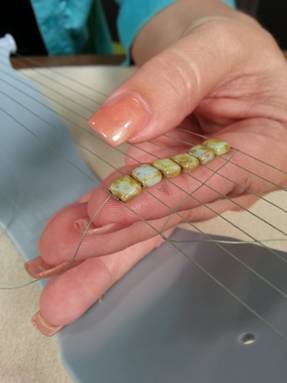
Step 9
With fore finger help to guide Tila beads in-between each warp thread
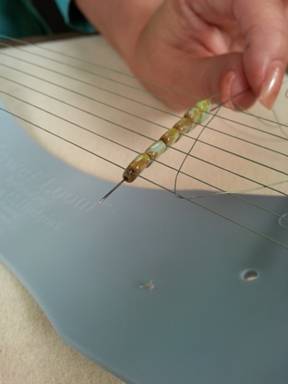
Step 10
Bring needle and thread through all holes of beads making sure that needle and thread are on top of warp threads
Step 11
Push Tila beads in a straight up and down position so that bottom holes are under warps
Step 12
Insert needle and thread through all bottom holes of Tila beads and push all beads back up into warp threads
Step 13
With needle and thread on right side of loom bring needle back through holes making sure that needle and thread is on top of warps
Step 14
Continue step 13 until you have all rows completed for your cuff.
Step 15
With cuff still on Jewel loom create a salvage at each end of cuff. Add Jewelry Glue and let dry
Step 16
Cut cuff off of Jewel Loom at back buttons
Step 17
Tie two warp threads together to create little knots closet to salvage. Add Jewelry Glue to each knot
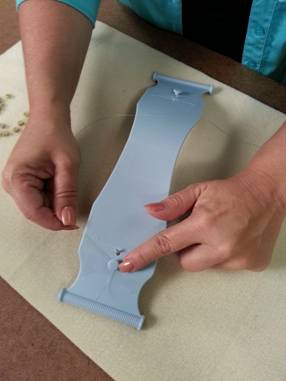
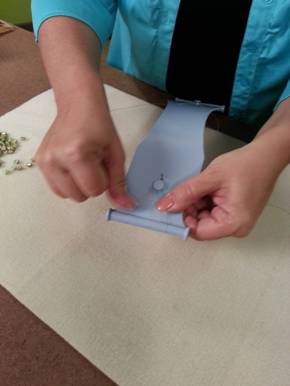
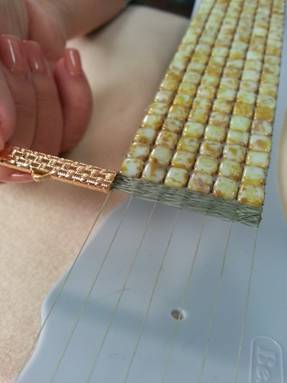
Step 19
Add ribbon clasp with flat nose pliers

Step 1 – Insert rod
Step 2 – Tie Wild Fire to back button
Step 3 – Wrap threads
Step 4 – Skipping 3 grooves
Step 5 – Build 7 wrap threads
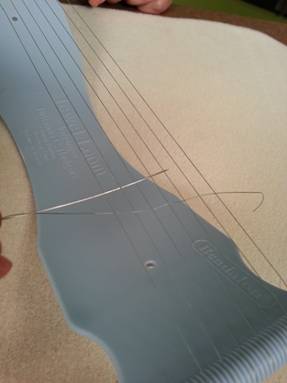
Step 6
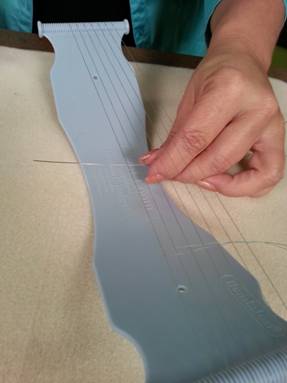
Step 7
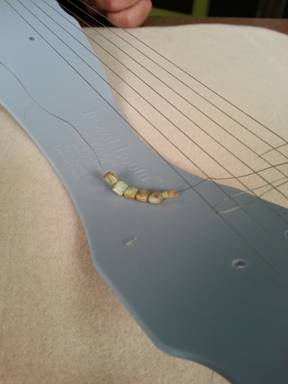
Step 8

Step 9
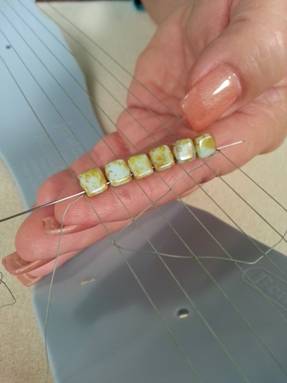
Step 10
Step 11
Step 12
Step 13

Step 14
Step 15
Steps 16, 17, 18
|