Project 201-2
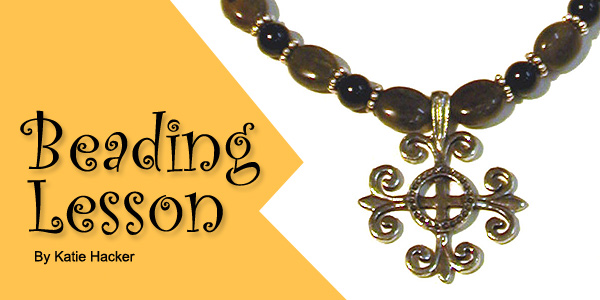
Beading Lesson
How to Adjust the Length of a Finished Necklace
By Katie Hacker
Sponsor:
Beadalon®
Making a design longer is typically less complicated than making a design shorter. You have several options, besides re-stringing the entire piece. An easy method is to add an extension chain to one end.
 Extension
chains are usually around 2" long and are sold with either a clasp
or a decorative drop attached to one end. Extensions with a clasp are
added to a finished design to make it longer. Extensions with a decorative
drop are added to designs to make them adjustable because you can fasten
the clasp anywhere along the chain.
Extension
chains are usually around 2" long and are sold with either a clasp
or a decorative drop attached to one end. Extensions with a clasp are
added to a finished design to make it longer. Extensions with a decorative
drop are added to designs to make them adjustable because you can fasten
the clasp anywhere along the chain.
To attach an extension chain with a clasp, simply attach the chain end to the existing clasp, and then fasten it to the other end as you normally would to fasten the necklace. To attach an extension chain with a decorative drop, you must attach the chain opposite end of the clasp. If you need a longer extension, you could use bulk chain to make your own.
Another option is to use flexible beading wire to create an extension. Use beads that match or coordinate with the original necklace. Attach it to the end, just like an extension chain. You can even attach a coordinating bracelet to a necklace by fastening the clasps together.
To convert a bracelet into a necklace, add pieces of suede lace or chain to the ends of the bracelet. Attach a clasp to the other end of the suede lace or chain.
For designs that are made with bead links, it’s easy to adjust the length. You can add more beaded links or remove them to adjust the length. Adding sections of chain increases the length and adds some drama to the design.
To make a strung necklace shorter, it is necessary to cut off the clasp. Then you can just remove some of the beads and attach the clasp at the desired length. Before you cut the piece, make sure that there will be at least 2” of extra stringing material to re-attach the clasp, otherwise you will need to re-string the design.
If it is necessary to re-string your design, take a picture or scan of the piece before you disassemble it. That way you’ll be sure to get the pattern just right when you re-string it.