Project 210-2
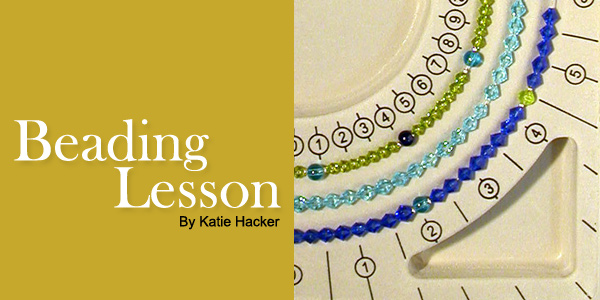
Beading Lesson
Making Multiple Strand Designs
By Katie Hacker
Sponsor:
Beadalon®
Multiple strand designs look complicated, but they really aren't hard to make. This beading lesson will show you how to assemble a multi-strand necklace with graduated strands.
Many multiple strand designs use end connectors with several loops. These can be multi-strand clasps or multi-strand components that connect to a clasp. These unique filigree components feature wire that is twisted together and soldered into place. Multi-strand components like these can also be used to create chandelier earrings or pendants.
To connect the strands to a clasp or component, you use crimp beads or tubes. String a crimp tube onto one end of a piece of beading wire. Place the wire end through a loop on the clasp and back inside the crimp tube. Use a crimping tool to crimp it.
You can add spacer bars to a design to hold the strands in place. This forces the beads to lay flat and prevents the design from twisting. Spacer bars can also be used to make cuff-style chokers and bracelets.
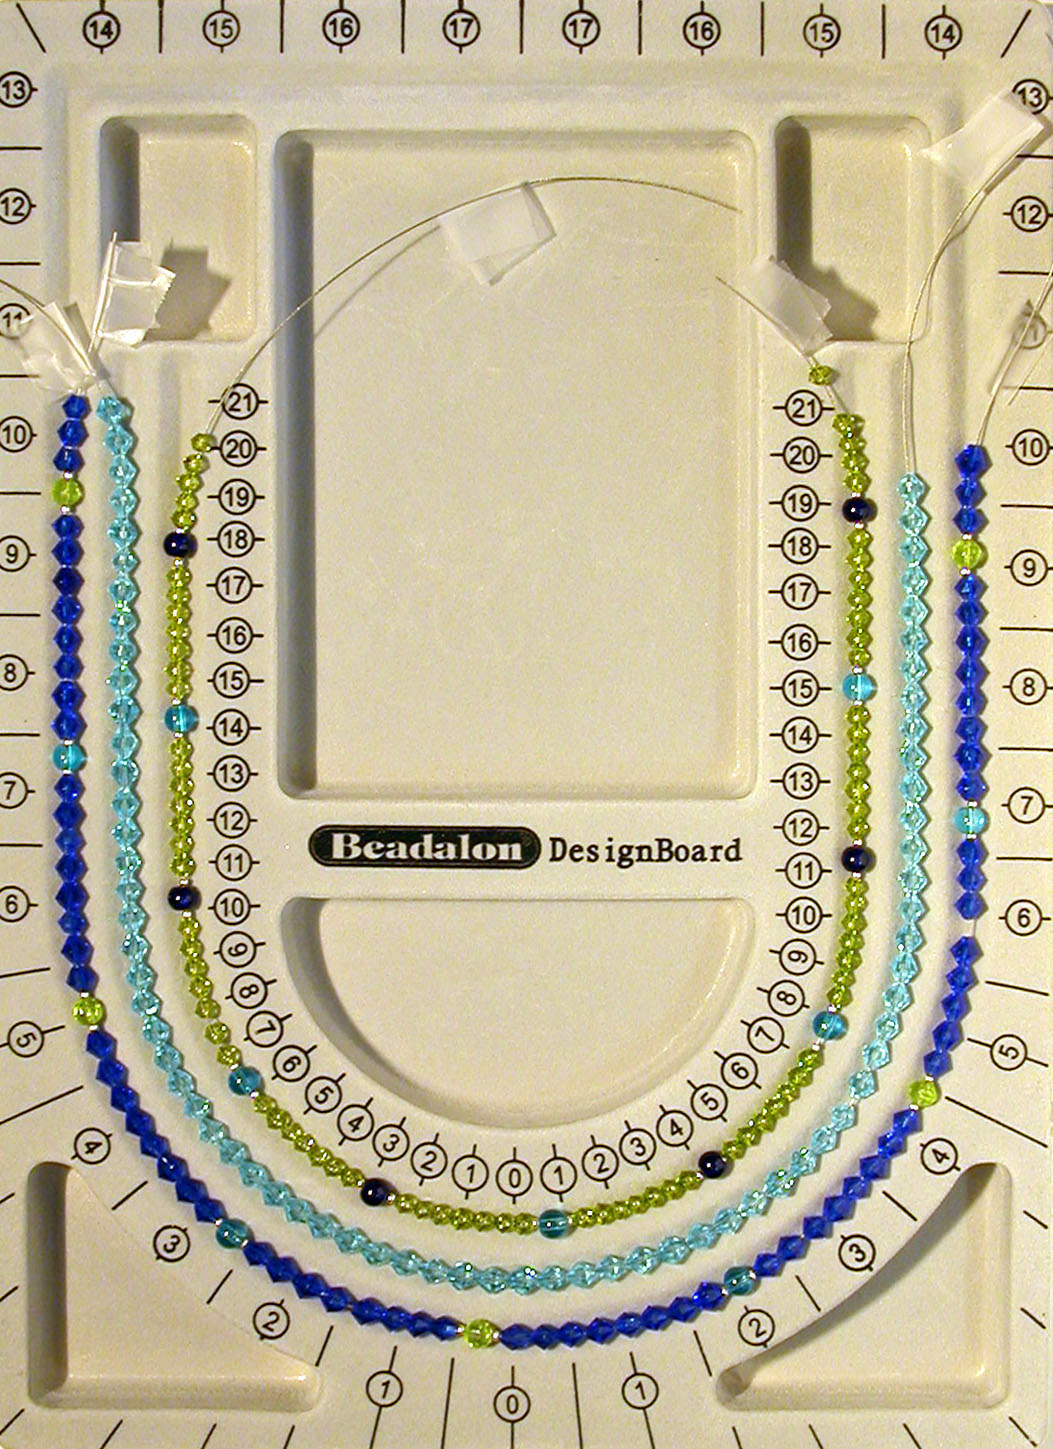 To
make a necklace with graduated lengths, start by arranging the beads on
a bead board. The bead board channels are evenly spaced to ensure that
the necklace will drape properly once they’re strung.
To
make a necklace with graduated lengths, start by arranging the beads on
a bead board. The bead board channels are evenly spaced to ensure that
the necklace will drape properly once they’re strung.
Before you begin, decide how long you want the shortest and longest strands to be. The numbers along the outer channel measure the length in inches. The numbers along the inside measure it in centimeters. To make a 16” strand for the shortest strand and a 20” strand for the longest. Arrange the beads so they extend to the 16” mark along the outer channel and the 20cm mark along the inner channel.
Arranging multiple strand designs on the bead board allows you to adjust the placement of the beads so all of the strands look good together. Once you string them, lay them on the bead board again to take one final look before attaching the clasp.