Tutorial for making a Borosilicate Glass Cabochon for Interchangeable Jewelry
Glass by Tammy Rae – with Tammy Rae Wolter
Intermediate level project
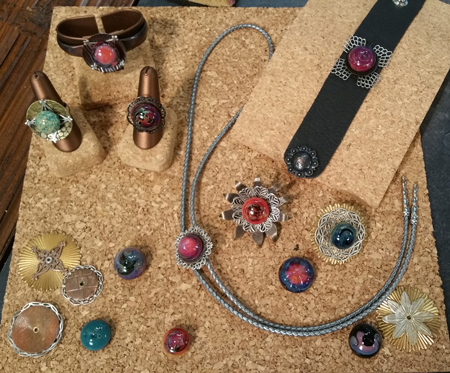
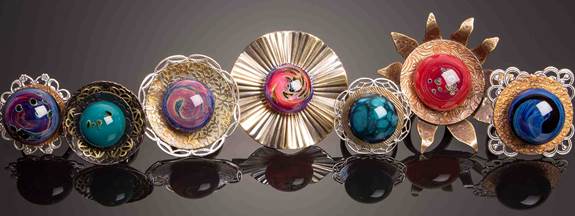
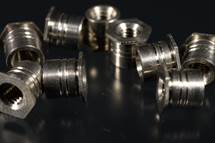
This very popular design gives your customer options and a feeling of accomplishment as they become part of the design process for their own finished jewelry piece. The threaded insert is melted into the back of the borosilicate glass cabochon allowing it to be attached to rings, pendants, brooches, bracelets and even bolo ties. I have created a line of metal embellishments that can be combined with the glass for an even more unique and eclectic look.
Tools:
Most available at ABR Imagery, Bloomington, Indiana www.abrimagery.com
- Lampworking Duel Fuel Torch appropriate for melting Borosilicate Glass (I am using a GTT Mirage)
- Didymium Glasses (a MUST for lampworkers for eye protection)
- Kiln with digital computer controller (set at 960 degrees for garage)
- Long handled Tweezers
- Mandrel (special for making these cabochons available at www.tammyrae.com)
Supplies:
Many available at ABR Imagery, Bloomington, Indiana www.abrimagery.com
- Bead Release (my absolute favorite after experimenting with various products is one produced by ABR Imagery – their blue label regular bead release)
- Borosilicate Glass Colored Rods
- Borosilicate Clear rods (using 8mm Simax in demo)
- Hex Nuts (available at www.tammyrae.com)
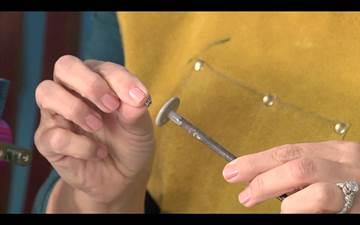
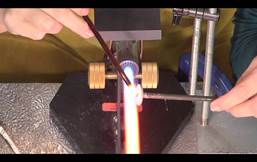
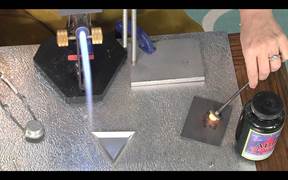
- Dip disk shaped mandrel into bead release.
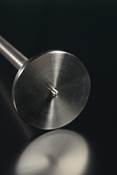 
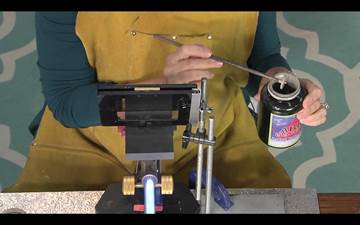
Add Hex nut AFTER dipping as you want the glass to permanently attach to it and not to the mandrel. I do not dip these in advance to dry - for this particular project I have the best results working when the bead release is still a bit damp.
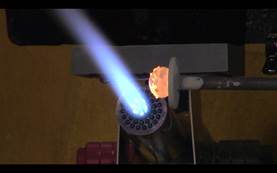
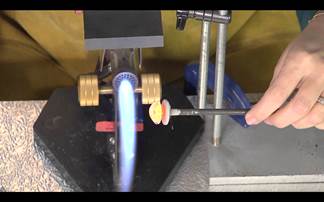
- Just like when you make a glass bead, allow a nice gather of molten glass to form on the end of your colored rod. Introduce the mandrel into the flame by holding the edge of the hex nut in the side of the flame just until it starts to glow. VERY quickly wrap it with glass from the molten gather you created. This first wrap of glass is crucial – needs to happen quickly to protect the hexnut from being damaged by too much direct contact with the flame.
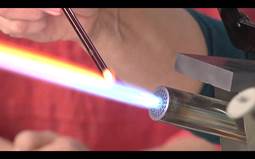
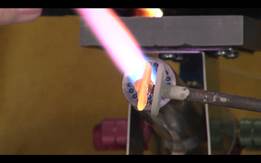
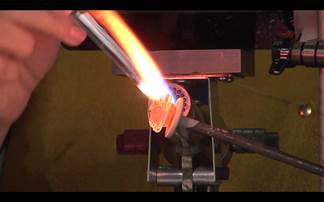
- Holding the mandrel at a right angle to the flame let this first glass application center itself. Slowly lower your elbow to change the angle of the glass in the flame to let it start to slump down toward the disk part of the mandrel.
- Add additional glass starting at the top of the already applied glass, working toward the sides. I like to layer a couple colors to create depth and interest in the finished piece. Sometimes I roll the glass in frit (crushed glass) to create interesting effects….as shown in next two photos
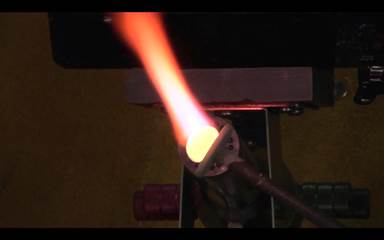
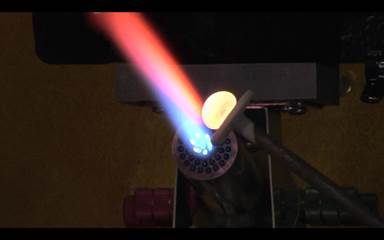
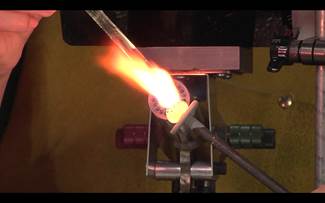
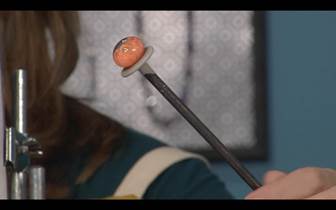
- Once your design is complete, totally encase with clear. Once again, starting at the center top and working in circles down toward the outside edges of the cabochon. Continue melting with your elbow in the down position to allow gravity to work with the heat and slump the glass down onto the back plate.
Note the angle of the mandrel…..down. This is a patient process – keep melting and turning the mandrel keeping the glass in the flame until the glass slumps down into a nice cabochon with a curved top.
- Anneal properly in your kiln to ensure durability. My annealing schedule is more detailed for these as there is more of a risk of cracking with the metal insert. I anneal for at least an hour at 1050 degrees, then allow the temperature to drop on the kiln just 100 degrees an hour until it reaches 500 degrees. From 500 degrees it is safe to allow the kiln to cool naturally – but don’t open that door yet…slower cooling is best for these even though it is Borosilicate Glass.
These cabochons can be used in the more traditional applications such as bead embroidery and silversmith projects. To see how the interchangeable system works please take a look at www.tammyrae.com The cabochon section in my etsy store will have everything you need to create wearable options for your newly created glass cabochons.
Questions? Please contact me at me@tammyrae.com
|