306-2
Beading Lesson
Basic Bead Embroidery
By: Katie Hacker
Sponsor: Beadalon®
To do bead embroidery, you’ll need: beading thread, a sharp beading needle, needle threader, scissors or wire cutters, and seed beads or bugle beads.
It’s important to use beading thread for bead embroidery, especially with bugle beads. Bugle beads can have very sharp edges and beading thread is especially made to resist abrasion. Use beading thread that has near zero stretch and is waterproof. Super strong beading thread can be difficult to cut and you may find that wire cutters work better than scissors.
Beading needles are different from regular sewing needles because beading needles have eyes that are the same size as the rest of the needle. Sewing needles usually have slightly larger eyes. It’s important to use beading needles so the eyes will fit through seed beads when threaded.
The most basic stitch is called a beaded backstitch. This stitch holds beads together in a straight line. To make a beaded backstitch, pass the needle through 4-6 beads. Bring the needle down through the fabric and back up between the middle beads. Pass it through the last few beads. This will hold the row firmly in place. You can add more beads and continue backstitching as you go. Backstitch works well for straight rows or for outlining a shape with beads.
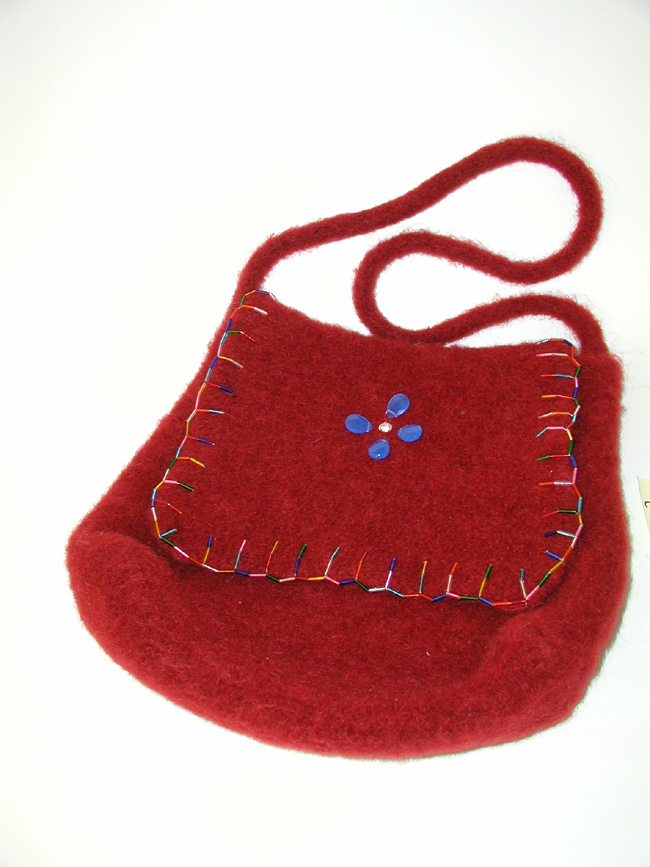
Blanket stitch is another fun stitch. It’s the same as a typical blanket stitch, but it’s a little more complicated when you add beads.
You can also create freeform designs by stitching with beads. One of
my favorite techniques is to use a larger bead in the center, then make
short rows of smaller beads radiating out from the center. The finished
stitch looks like a little flower.
| Project Images | |
 |
|
.