
601-2
Beading Lesson
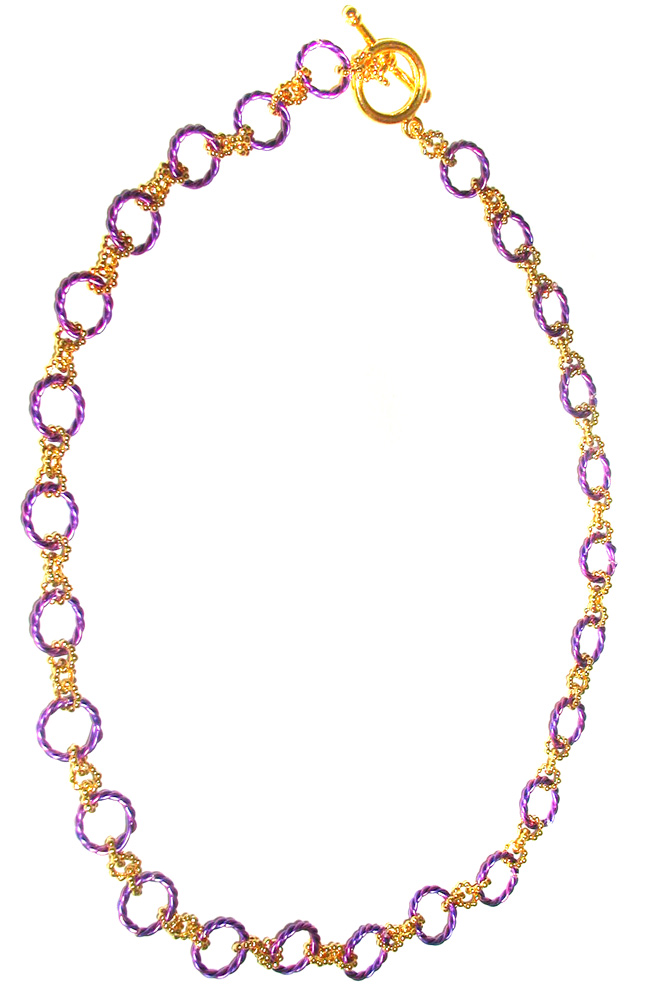
Making Chain with Twisted Jump Rings
By Katie Hacker
Sponsored by: Beadalon®
It’s easy to create your own chain from twisted jump rings.
The wire-twisting tool has an acrylic plate with holes in it on one end, a rotating shaft and a handle on the other end. To use it, you’ll place the wire ends through the holes, then hold the shaft and turn the handle.
You can twist up to five wires together. To make a simple three-strand twist, cut three equal lengths of wire. Use different wire gauges for a more textured look or use the same gauge for a smoother twist.
Wrap the wire ends around a stationary object like a clamp or a doorknob. Attach each wire to a hole on the twister, making sure that they remain about the same length. If one wire is longer than another, it will create a bump in the twist. Hold the shaft and turn the handle to complete the twist.
For a very tight twist, keep twisting until one end of the wire breaks. By twisting the ColourCraft™ colored craft wires together, you’re actually work hardening the wire. That forces the molecules of the metal closer together and creates a very tight twist that won’t easily unravel. This is especially important if you’re going to use the twisted wire to form shapes.
Once the twist is finished, cut the ends to remove the wire from the clamp or twisting tool. To coil the twisted wire, straighten one wire end and place it through the hole on the jump ring making tool. Turn the tool to form a coil. Remove the coil from the jump ring making tool and use wire cutters to cut the rings apart.
When cutting jump rings, remember that a flush cutter makes a flat cut on one end of the wire and a pointed cut on the other end. Turn the flush cutter both ways so the flat-cut jump ring ends will fit snugly together.
When you open a jump ring, always turn one arm to the side. Never open
the ends directly apart or the ring won’t close properly. To make
a chain, connect the rings together. For a more solid-feeling chain, connects
sets of two rings.
For more ideas and inspiration visit www.katiehacker.com
| Project Images | |

|
|