603-2
Beading Lesson
Using Pinch Bails
By Katie Hacker
Sponsored by:
Beadalon®
In today’s Beading Lesson, we will show you some interesting techniques for using pinch bails in your beading projects.
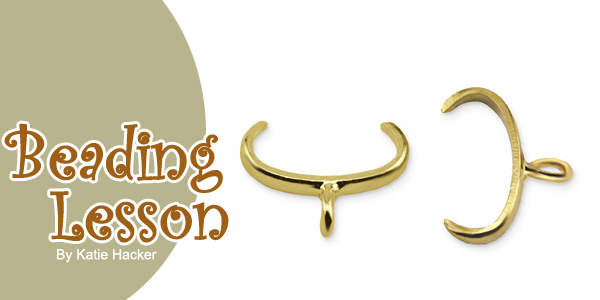
Pinch bails are small metal findings that have two pointed ends on one side and a loop on the other side. The pointed ends fit inside a bead and the loop is used for hanging.
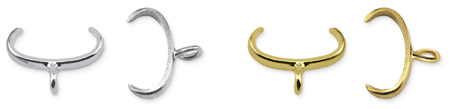
They’re called pinch bails because you can use your fingers or chain nose pliers to literally pinch the ends together. The bail makes it easy to turn any drilled item into a charm or pendant. You can use it to make a connection instead of wire wrapping.
The most common use for a pinch bail is to make a simple dangle. Start by pinching the ends together slightly then place a glass dangle inside the pointed ends. With the ends in place, pinch the bail closed. Attach the other end to a piece of chain and an ear wire for a simple pair of earrings.
You can also use pinch bails to convert beads into charms and pendants.
Or, you can attach the bail to a piece of suede lace and add your own
beaded dangle to the loop.
For more ideas and inspiration visit www.katiehacker.com
| Project Images | |
 |
|