Actual Length: 7"
1. Squeeze the end loops together on the Bead Stopper™ to open the center coil and attach it 6" from the thread end.
2. Thread a needle and pass the needle through the following beads: iris, brown, iris, brown, iris, brown, iris.
3. Pass another (unthreaded) needle through the iris beads that are already on the thread. This will help separate the rows before beginning peyote stitch.
4. Place one end of the needle in the Bead Stopper™ that is already attached to the thread, and then use another Bead Stopper™ to cover the other end of the needle.
5. To complete odd-count peyote stitch, pass the threaded needle through a new iris bead, existing brown bead, new iris bead, existing brown bead, new iris bead, existing brown bead, new iris bead.
6. Loop the needle around the thread between the first and last iris beads, and then pass it back through the last iris bead.
7. Repeat the peyote stitch pattern until the bracelet is the desired length.
8. Stitch half of the clasp to the end of the bracelet by passing through the clasp loops and the nearest beads. Make several passes through each loop so the clasp is secure.
9. Pass the needle back through the beadwork to weave-in the tail. Add a drop of glue to the end of the thread.
10. Remove the Bead Stopper™ clips and the needle at the beginning of the bracelet and repeat Steps 8-9 to attach half of the clasp.
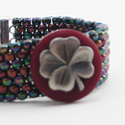
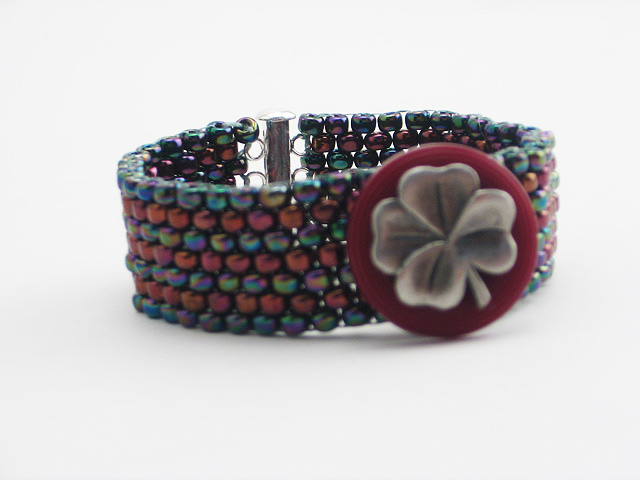
Optional:
Stitch a large button to the center of the bracelet by passing several times through the button's holes and the nearest beads. Cut the shank off a metallic button and glue it to the center of the first button.
|