1. Introduction
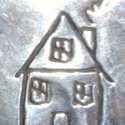
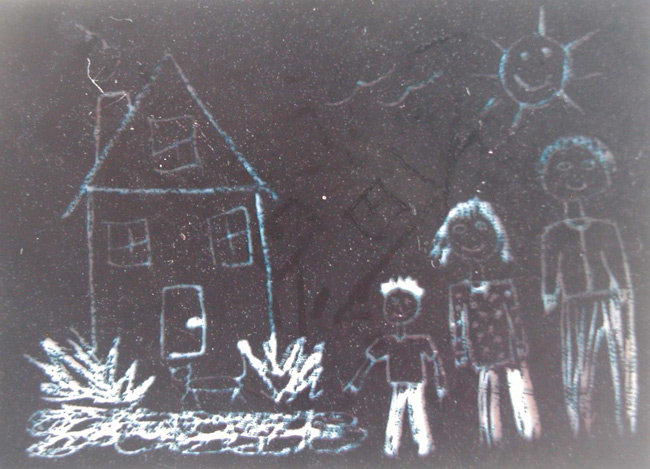
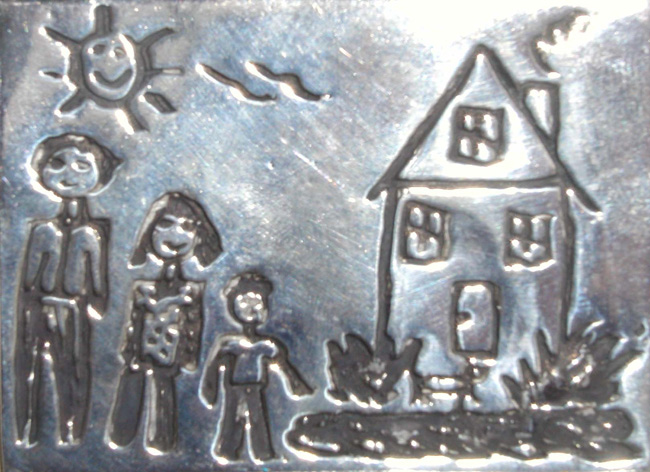
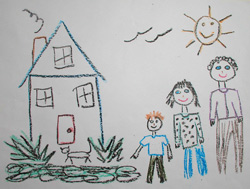
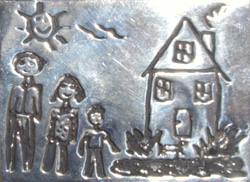
This is a technique that allows you to make personalized stamps. You can use these stamps with silver clay or polymer clay to create jewelry pieces that are one-of-a-kind or have a special meaning. Some favorite uses for this photopolymer technique are nametags, mother’s bracelets, and even your child’s artwork.
2. What is photopolymer plate?
The Photopolymer plates have a thin plastic back covered with the photopolymer, which is a soft, gel-like and light sensitive, with a piece of protective plastic on top. What essentially happens in this process is that, when exposed to UV light, a darkened area on the plate will remain soft, or uncured, and any part left clear will harden when exposed to the light.
3. Getting Prepared
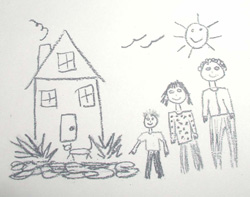
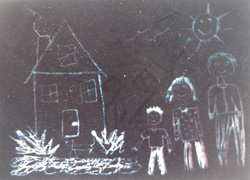
To make your personalized plates or stamps, you’ll use your personal computer and printer, and copy your black and white artwork onto overhead transparencies that you can get at any office supply store. Your artwork can be downloaded clipart, simple typing, or a drawing that has been reduced in size and turned black and white. You can also draw on the transparency with a black permanent marker.
Next you’ll need to assemble a frame to expose your photopolymer plate. You can use a heavy piece of cardboard, or a glass plate for your base. On top of the base you’ll put a “cushion layer” that can be a soft piece of foam or bubble wrap, and a top piece made of glass. A good size for these pieces is 3 inches x 4 inches. Make sure the glass you use does not have a UV coating that will block out some of the UV rays you need to expose the PPP.
Then, to hold the frame together, you’ll need bullnose clamps or paper clamps.
You’ll also need a soft nylon brush, like a nail brush or surgical scrub brush, and a bowl or basin of cool water when it’s time to wash your PPP.
Last, you’ll need a light source. We use a UV light box typically used in nail salons. Good results can be achieved using sunlight also. Halogen lights can also be used, but these are hot and can even damage the PPP.
4. Now we’re ready to make the plate!
First, move to an area that is free of a UV light source, like sunlight or UV lamps. This will keep the PPP from exposing before you’re ready. Cut the transparency with your artwork to a size that is smaller than your frame. Place your cushion layer on top of the base of your frame. Take your piece of photopolymer plate, remove the protective cover, and place it on the cushion layer with the hard plastic back against the cushion. Place your artwork on the PPP, face down. Put the top piece of glass in place over the transparency, and secure it with the clamps.
Now you’re ready to expose the PPP! If you’re using a UV light box, an exposure time can be as little as one minute. If you’re using natural sunlight, two minutes is a good starting point.
After you’ve exposed your PPP, you’re ready to wash out the unexposed polymer of the plate that was protected by the black areas of your artwork. Remove the PPP from the frame and place it in the bowl or basin. Begin scrubbing lightly in one direction, then change and scrub in the opposite direction to remove the soft polymer gel that remains. Remove the plate, now a personalized stamp, and dry with a lint free cloth and a warm (not hot) hairdryer. When the plate is dry, expose it to the UV light source again to harden it.
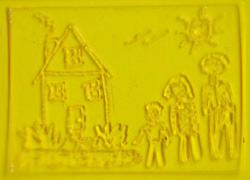
Now the plate is ready to use! Be sure to use a release agent, like oil or balm on the plate so that it will not stick to your clay when you use it. Have fun with this technique, and use your imagination to create pieces that you and your friends and family will treasure forever!
http://www.beadoholique.net/
|